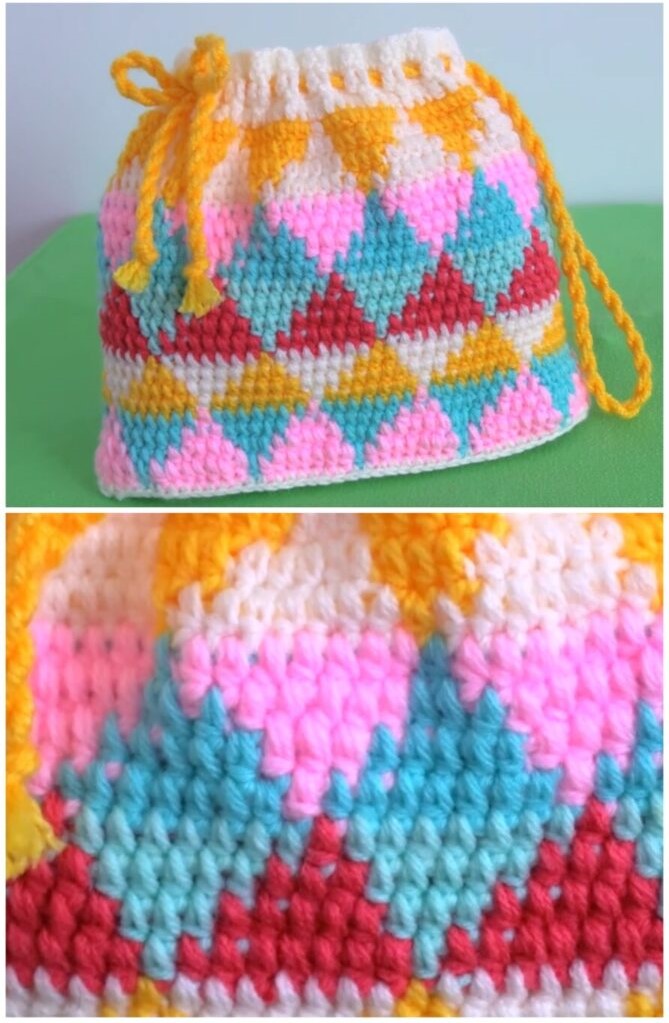
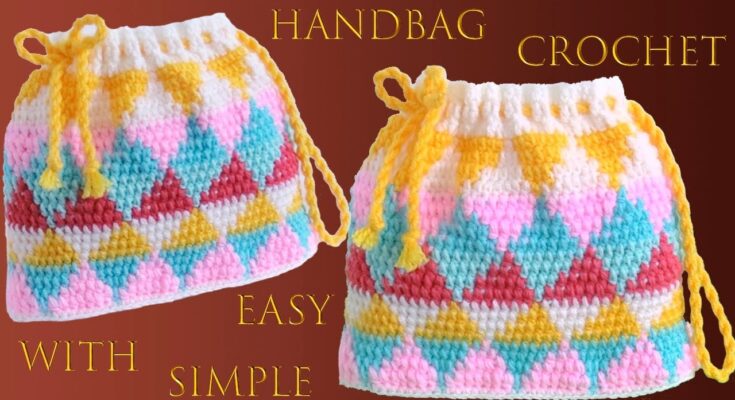
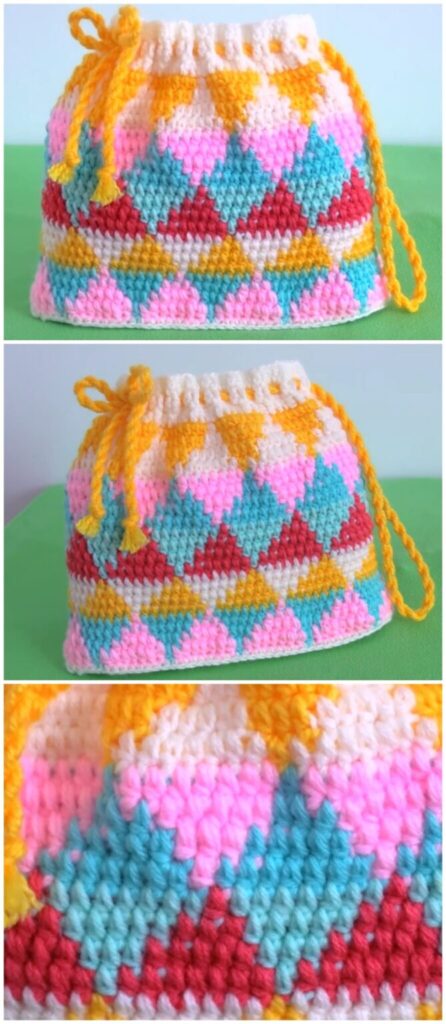
Crochet Rainbow Colored Bag with Triangles – Step-by-Step Guide
A crochet rainbow-colored bag with triangles is a vibrant and stylish accessory that is both fun to make and practical to use. This tutorial will guide you through the process of creating a stunning bag using colorful yarn and triangular motifs. Whether you’re a beginner or an experienced crocheter, this project will add a touch of creativity to your wardrobe.
Materials Needed:
- Yarn: Cotton or acrylic yarn in rainbow colors (red, orange, yellow, green, blue, indigo, violet)
- Hook: Size G (4.0 mm) or H (5.0 mm) crochet hook
- Scissors
- Yarn needle
- Stitch markers (optional)
- Lining fabric (optional)
- Bag handles or crocheted straps
- Magnetic clasp or zipper (optional)
Step 1: Understanding the Triangle Motif
The foundation of this bag is made up of crocheted triangles, which are then joined together to form a geometric pattern. Each triangle will feature one of the rainbow colors, creating a bold and lively design.
How to Crochet a Basic Triangle:
- Foundation Chain: Start with a magic ring or chain 4 and join to form a loop.
- Round 1: Chain 3 (counts as first DC), work 2 DC into the ring, chain 2, 3 DC into the ring. Repeat two more times to create three clusters. Slip stitch to join.
- Round 2: Slip stitch into the next chain space, chain 3, 2 DC in the same space, chain 2, 3 DC in the same space. Repeat in the other two corners.
- Round 3-5: Continue working in rounds, increasing at each corner with 3 DC, chain 2, and 3 DC in the same space. Stop when the triangle reaches your desired size.
Make multiple triangles in rainbow colors until you have enough to form the front, back, and sides of the bag.
Step 2: Assembling the Bag
- Lay out the triangles in the desired color order to form a rectangular or square-shaped fabric for the bag.
- Join the triangles using a slip stitch, whip stitch, or single crochet seam for a textured look.
- Create a bag panel by joining enough triangles to match the width and height of your desired bag size.
- Repeat for the back panel and sides if making a boxy bag.
- Sew or crochet the panels together to form the bag’s body.
Step 3: Adding a Lining (Optional)
For extra durability, you can sew a fabric lining:
- Cut a piece of fabric slightly larger than the bag.
- Sew the edges to match the bag’s dimensions.
- Hand-sew or machine-stitch the lining to the inside of the crocheted bag.
Step 4: Crocheting the Handles
- Strap Option 1 (Crocheted Strap):
- Chain the desired length for the strap.
- Work in SC or HDC rows until the strap is sturdy.
- Attach securely to the bag sides.
- Strap Option 2 (Pre-Made Handles):
- Attach wooden, plastic, or leather handles for a professional finish.
Step 5: Adding a Closure (Optional)
- Magnetic Snap or Button: Sew in place for a secure closure.
- Zipper: Sew a zipper along the top edge for added security.
Creative Variations
- Ombre Effect: Use shades of a single color for a gradient look.
- Boho Style: Add fringe or tassels to the bottom edge.
- Larger Tote: Make bigger triangles and add more rows for a spacious tote bag.
Final Thoughts
This crochet rainbow-colored bag with triangles is a fun and creative project that showcases your love for color and design. Whether you use it for shopping, traveling, or everyday essentials, this eye-catching bag is sure to turn heads.
Happy Crocheting!

Video tutorial: