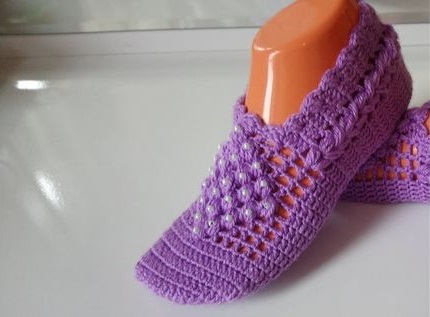
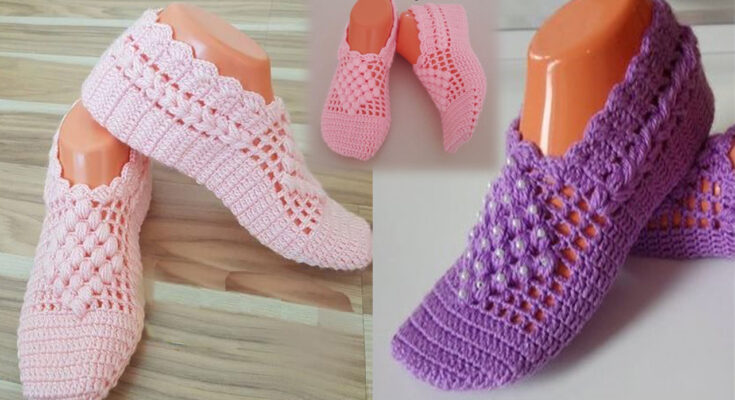
Crochet Puff Diamond Slippers – A Step-by-Step Guide
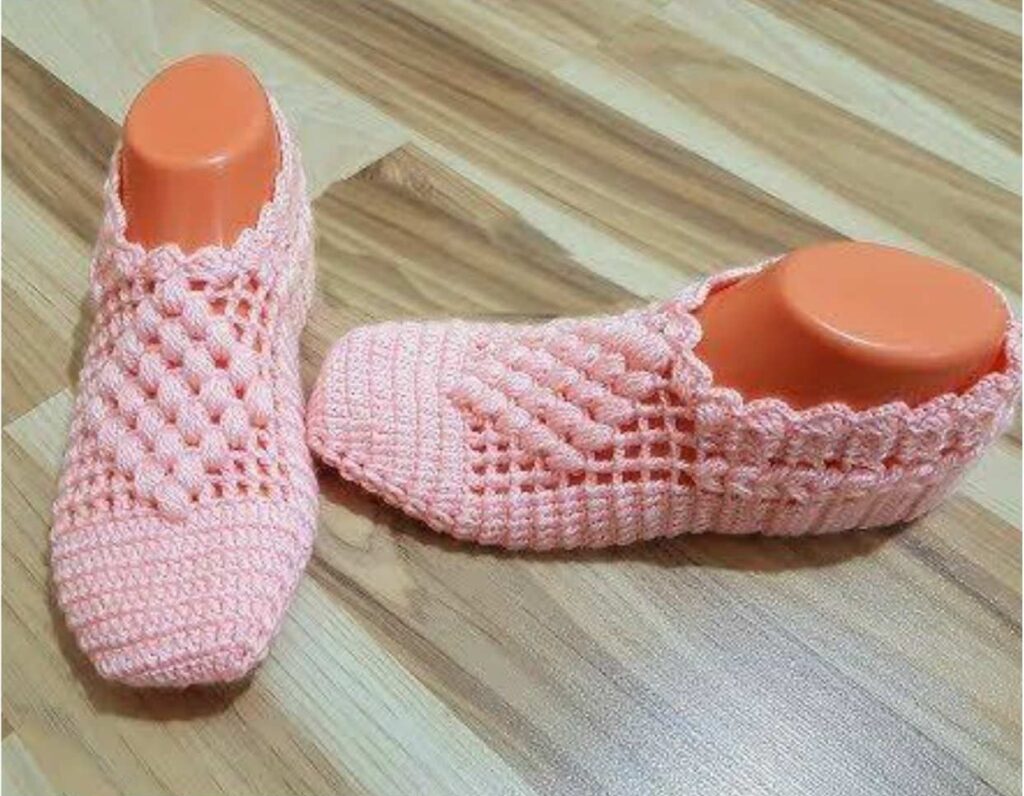
Crocheting your own puff diamond slippers is a stylish and rewarding project. These slippers are warm, textured, and elegant, making them perfect for personal use or gifting. This detailed guide will take you through the process of making crochet puff diamond slippers, from materials to finishing touches.
Materials Needed:
- Yarn: Worsted weight or chunky yarn for warmth and durability
- Hook: Size H (5.0 mm) or I (5.5 mm) crochet hook
- Scissors
- Yarn needle
- Stitch markers (optional)
- Non-slip sole fabric or glue (for extra grip, optional)
Step 1: Understanding the Puff Diamond Stitch
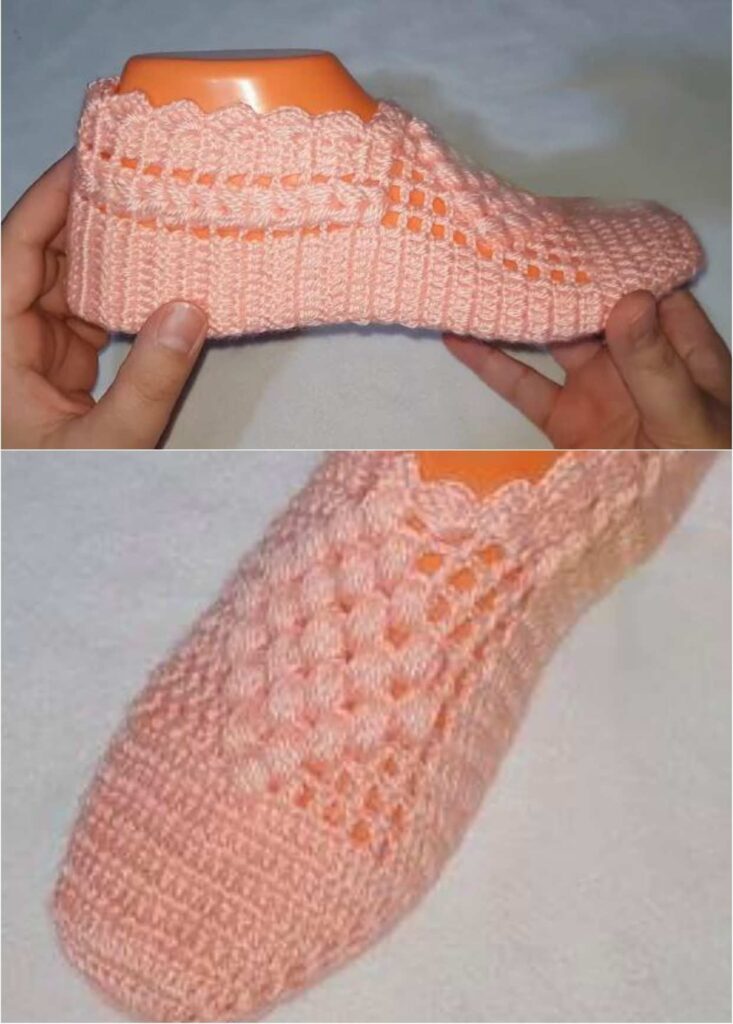
The puff diamond stitch creates a raised, textured diamond pattern using puff stitches. It adds thickness and visual interest to the slippers.
How to Crochet a Puff Stitch:
- Yarn over, insert the hook into the stitch.
- Yarn over and pull up a loop (leave it loose).
- Repeat steps 1-2 three more times (you should have 9 loops on your hook).
- Yarn over and pull through all loops on the hook.
- Chain 1 to secure the puff stitch.
How to Create a Diamond Pattern:
- Puff stitches are arranged in a diamond formation by offsetting them in alternating rows.
- The pattern starts with a row of puff stitches, then the next row spaces them apart to create the diamond effect.
Step 2: Making the Sole of the Slipper
- Foundation: Start with a chain of 22 (for medium size; adjust for smaller/larger sizes).
- Round 1: Work 1 SC in the second chain from the hook and across. In the last chain, make 5 SC to turn. Continue along the other side of the chain, placing 1 SC in each stitch, and finish with 5 SC in the last stitch. Join with a slip stitch.
- Round 2: Chain 1, work 1 SC in each stitch around, increasing at the toe and heel area.
- Round 3-4: Continue single crochet rounds, increasing as needed to maintain a flat oval shape that matches the foot size.
Step 3: Building the Upper Part of the Slippers
- Round 1: Chain 2 (counts as first HDC), work HDC stitches around the sole, placing one stitch in each SC from the previous round. Join with a slip stitch.
- Round 2-3: Begin working the puff diamond stitch pattern, ensuring the puff stitches are evenly spaced to form diamonds.
- Toe Shaping: Once you reach the front of the slipper, decrease stitches gradually using HDC2tog (half double crochet two together) for a snug fit.
- Heel Shaping: Continue working evenly or decrease slightly for a tighter fit. Fasten off and weave in ends.

Step 4: Adding a Cuff or Strap (Optional)
- Cuff: Work a few rounds of SC or ribbed crochet for a snug ankle fit.
- Strap: Crochet a small strap and sew buttons for a Mary Jane-style slipper.
Step 5: Adding Non-Slip Soles (Optional)
- Fabric soles: Sew on felt or rubber material for extra durability.
- Hot glue dots: Apply small dots of hot glue for grip.
- Puff paint: Use textured fabric paint for a non-slip effect.
Creative Variations
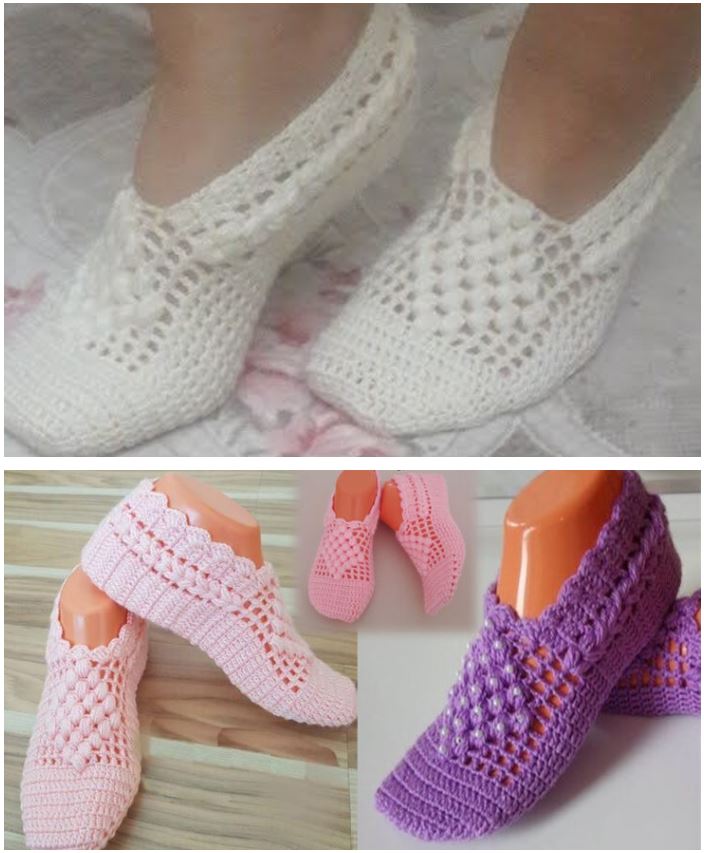
- Two-Tone Slippers: Use different colors for the puff stitches to highlight the diamond pattern.
- Fluffy Slippers: Use faux fur yarn for added warmth and texture.
- Open-Toe Slippers: Modify the front opening for a sandal-like design.
- Embellished Slippers: Add crochet flowers, buttons, or bows for extra charm.
Final Thoughts
Crochet puff diamond slippers are a fantastic blend of comfort and style. They offer warmth, texture, and a cozy handmade touch. Whether you’re crafting them for yourself or as a gift, these slippers will be a cherished creation!
Happy Crocheting!