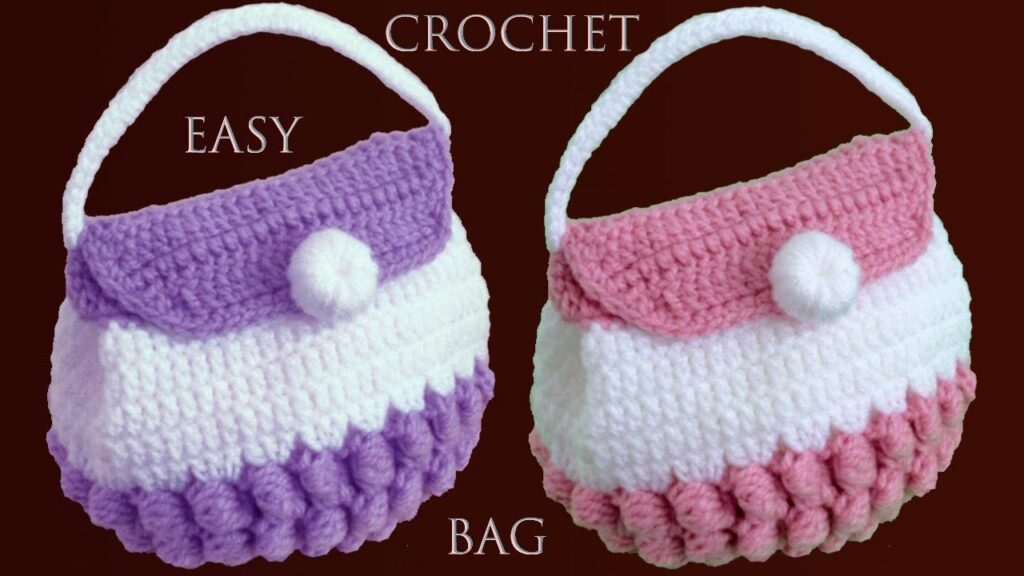
Crochet is one of the most rewarding crafts you can learn, and what better way to dive in than by making something functional and fashionable? A crochet bag is the perfect beginner project — it’s simple, fun, and a great way to practice basic stitches while ending up with something you can proudly carry.
In this guide, you’ll learn how to make an easy crochet bag for beginners using just basic stitches and minimal shaping. No complicated techniques, no sewing machines — just your hook, yarn, and creativity.
🎯 Why This Bag is Perfect for Beginners
- ✅ Uses basic stitches only (mostly single crochet)
- ✅ Works up quickly
- ✅ No shaping or complicated construction
- ✅ Practical and stylish
- ✅ Easy to customize (colors, size, strap type)
🧵 Materials You’ll Need
- Yarn: Worsted weight (Category 4) cotton yarn is ideal
(Cotton is strong, holds shape, and is washable)- Suggested: Lily Sugar’n Cream, Paintbox Cotton, or any durable yarn
- Hook: 5.0 mm (H-8) crochet hook
- Scissors
- Yarn needle (for weaving in ends)
- Stitch marker (optional)
- Measuring tape
✨ Basic Crochet Bag Pattern (Tote Style)
This beginner tote is worked flat as one large rectangle, folded, and seamed on the sides. Then you add simple straps. No circular crochet or fancy shaping required!
🔸 Stitches Used:
- ch – chain
- sc – single crochet
- sl st – slip stitch
- (optional): BLO (back loops only) for a ridged texture
🪡 Step-by-Step Instructions
🧶 Step 1: Crochet the Main Body
Foundation Row:
- Ch 41 (or any even number for desired width – this gives approx. 12″ width)
Row 1:
- Sc in 2nd ch from hook, and across (40 sc).
- Ch 1, turn.
Rows 2–55:
- Sc in each st across. Ch 1, turn.
(Continue until you reach ~24 inches in height, or desired size)
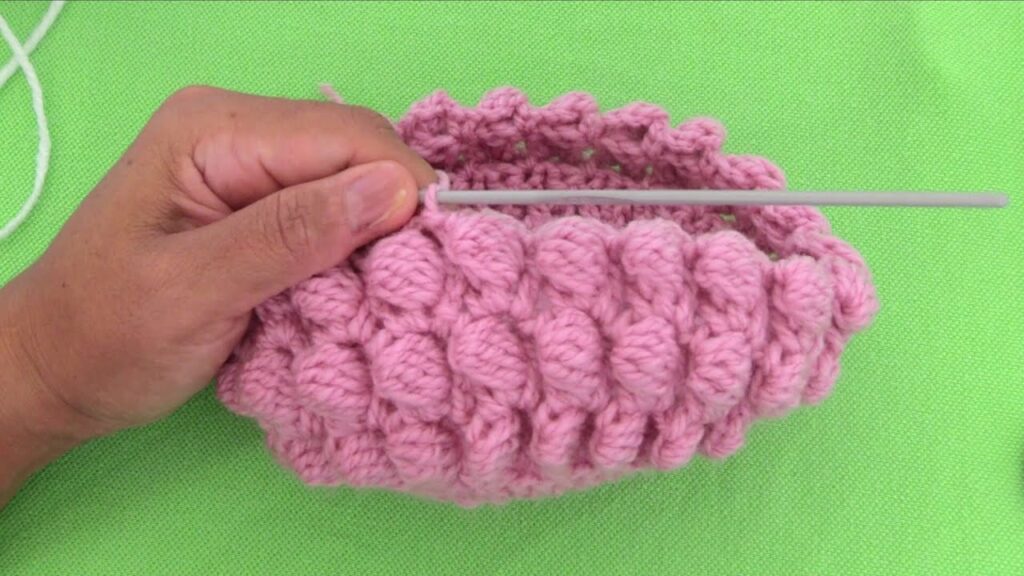
💡 Optional Texture Variation: Work all sc in back loops only (BLO) to add horizontal ridges.
✂️ Step 2: Fold and Seam
- Fold your rectangle in half widthwise (short edges touching).
- Use slip stitch or whip stitch to seam both sides of the folded piece to form the bag.
🪢 Step 3: Add the Straps
Option 1: Crochet Straps (Attached)
- Join yarn to top edge of the bag (corner).
- Ch 60 (or desired length for strap).
- Sl st to opposite edge of the same side.
- Turn and sc back across the chain to make it sturdier.
- Repeat for the second strap on the opposite side.
Option 2: Use Pre-made Handles or Cord
- Attach leather, rope, or canvas straps using rivets or buttons for a modern look.

🧼 Step 4: Finishing
- Weave in all yarn tails with a yarn needle.
- Lightly block the bag by dampening it and laying it flat to dry.
- Optional: Add a button loop or snap to close the top.
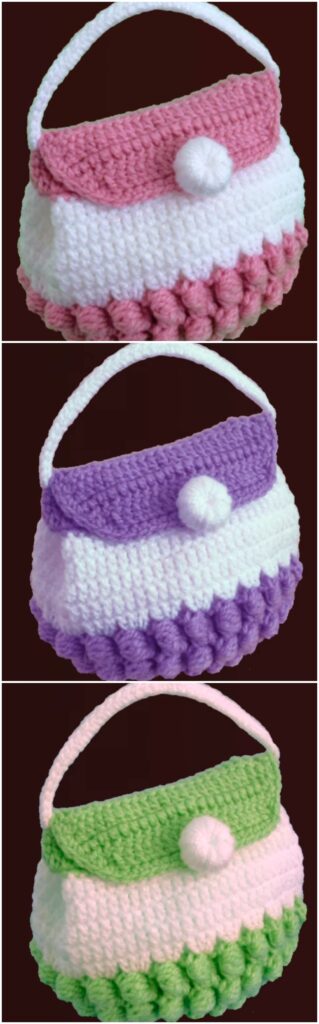
🎨 Customization Ideas
- Color Blocking: Change yarn color halfway through for a trendy two-tone effect.
- Stripes: Alternate every 5 rows with a contrasting color.
- Tassels or Pom-Poms: Add a playful finishing touch.
- Lining: Hand-sew fabric inside for extra durability.
🧠 Beginner Tips
- Use stitch markers to track your rows if you’re easily distracted.
- Keep your tension loose to prevent curling edges.
- Choose light-colored yarn to see stitches clearly.
👜 Project Summary
| Feature | Description |
|---|---|
| Skill Level | Beginner |
| Time Required | 2–4 hours |
| Bag Size | Approx. 12″ wide x 12″ tall |
| Customizable? | Absolutely! |
| Great For? | Everyday use, gifting, learning |
🎁 Wrap-Up
This easy crochet bag for beginners is the perfect project to grow your confidence while creating something useful and cute. Whether you’re heading to the farmers market, packing a book, or gifting a handmade treasure, this tote will carry your creativity wherever you go.
Once you finish one, you’ll want to make more in different colors and sizes. And who knows? This simple bag might just be your gateway to even bigger crochet projects!
Video tutorial: