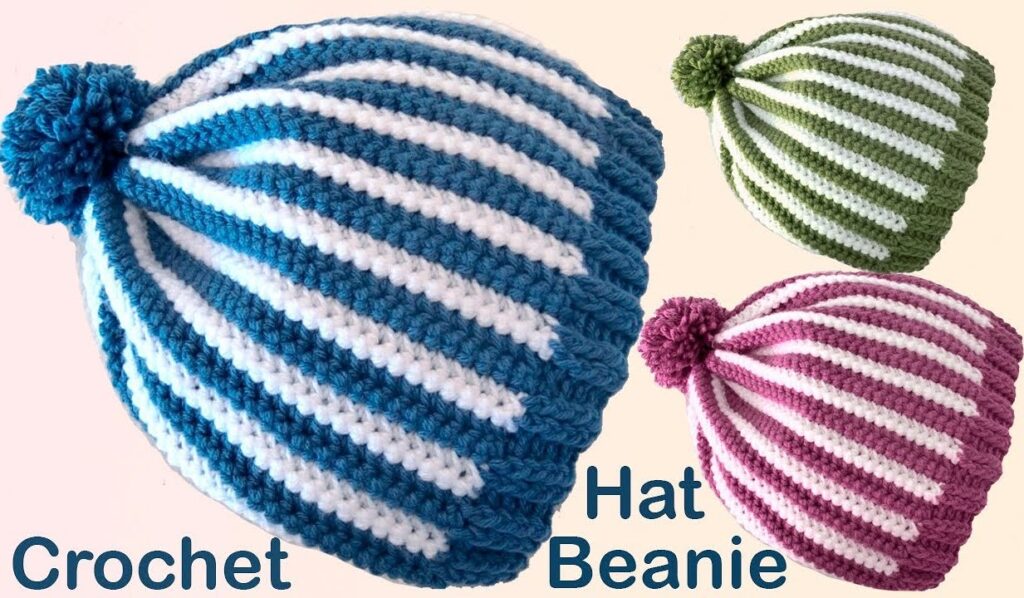
If you’re new to crochet and looking for your first wearable project, a striped beanie is the perfect choice! It’s quick to make, requires only basic stitches, and gives you the chance to play with color while learning important techniques like working in the round and changing yarns.
In this article, we’ll guide you through everything you need to know to crochet your own striped beanie—even if you’ve never made a hat before.
🎯 Why This Project Is Great for Beginners
- Simple Stitches – Uses only basic crochet stitches (mostly double crochet).
- Chunky Yarn – Works up fast and hides minor mistakes.
- Customizable – Adjust the size and stripe pattern to your taste.
- Stylish Result – Makes a great gift or wardrobe staple.
🧵 Materials You’ll Need
- Yarn: Worsted weight (category 4) or bulky (category 5) yarn
- Choose two or more colors for striping (acrylic or cotton recommended for beginners)
- Hook: 5.5 mm (I-9) for worsted, or 6.5 mm (K-10.5) for bulky yarn
- Scissors
- Yarn needle (for weaving in ends)
- Stitch marker (or safety pin, optional but helpful)
📏 Size Guide
This basic pattern is written to fit adult heads (~21–23” circumference). To adjust:
- For children, work fewer increase rounds.
- For larger heads, add an extra increase round or use a larger hook.
🧶 Crochet Stitches Used
- ch – chain
- sl st – slip stitch
- dc – double crochet
- sc – single crochet
- blo – back loops only (optional ribbing look)
👒 How to Crochet a Striped Beanie (Step-by-Step)
🌀 Step 1: Make the Magic Ring (or Ch 4 and Join)
- Create a magic ring, or ch 4 and sl st into the first chain to form a ring.
- Ch 2 (counts as first dc), work 11 dc into the ring.
- Sl st into the top of the ch-2 to join. (12 stitches)
🔄 Step 2: Increase the Crown
Round 2:
- Ch 2, 2 dc in each stitch around. Join. (24 sts)
Round 3:
- Ch 2, 1 dc in next st, 2 dc in next—repeat around. Join. (36 sts)
Round 4:
- Ch 2, 1 dc in next 2 sts, 2 dc in next—repeat around. Join. (48 sts)
Round 5:
- Ch 2, 1 dc in next 3 sts, 2 dc in next—repeat. (60 sts)
👉 Stop increasing when the circle reaches 6.5–7 inches across for an adult size.
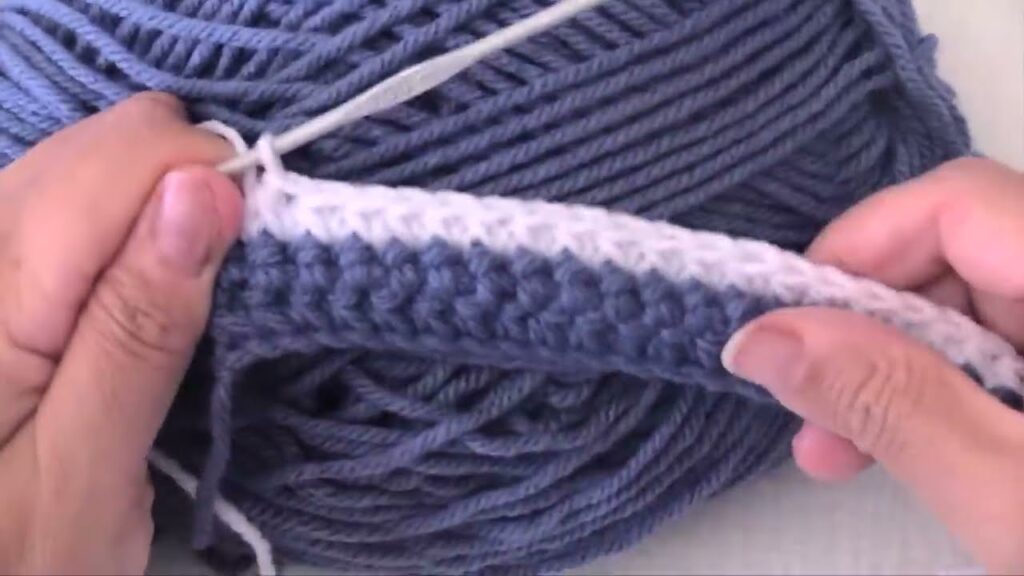
🧶 Step 3: Add the Stripes (Body of the Hat)
Rounds 6–13 (or until desired height):
- Continue with 1 dc in each stitch around, joining with a sl st at the end of each round.
- Change color every 2 rounds for clean, bold stripes:
- To change color, finish the last dc of the round with the new color, then sl st to join.
- Carry or cut the yarn between color changes depending on how clean you want the inside.
🎨 Stripe Pattern Idea:
- Round 6–7: Color A
- Round 8–9: Color B
- Round 10–11: Color A
- Round 12–13: Color B
🧢 Step 4: Ribbed Look (Optional Edge)
Round 14–15 (Optional Ribbing):
- Switch to sc in BLO (back loops only) to give the hat a textured finish.
- This gives a stretchy, ribbed brim.
🪡 Step 5: Finish Off
- Fasten off and weave in all yarn tails with your yarn needle.
- Add a faux fur pompom or a crocheted one if you’d like!
🎨 Customization Ideas
- Use 3–4 colors for a vibrant rainbow look.
- Add a brim by working 3–4 extra rounds in sc.
- Make a slouchy beanie by adding more rounds before the ribbing.
👶 Size Adjustments Chart (Quick Reference)
| Head Size | Crown Diameter | Hat Height |
|---|---|---|
| Baby (0–6 mo) | 4.5″ | 6″ |
| Toddler (1–3 yrs) | 5–5.5″ | 6.5–7″ |
| Child | 6″ | 7.5″ |
| Adult | 6.5–7″ | 8–9″ |
🧼 Care Tips
- Most acrylic yarns are machine washable, but always check the label.
- For handwashing: soak in cool water with gentle detergent, press out moisture, and lay flat to dry.
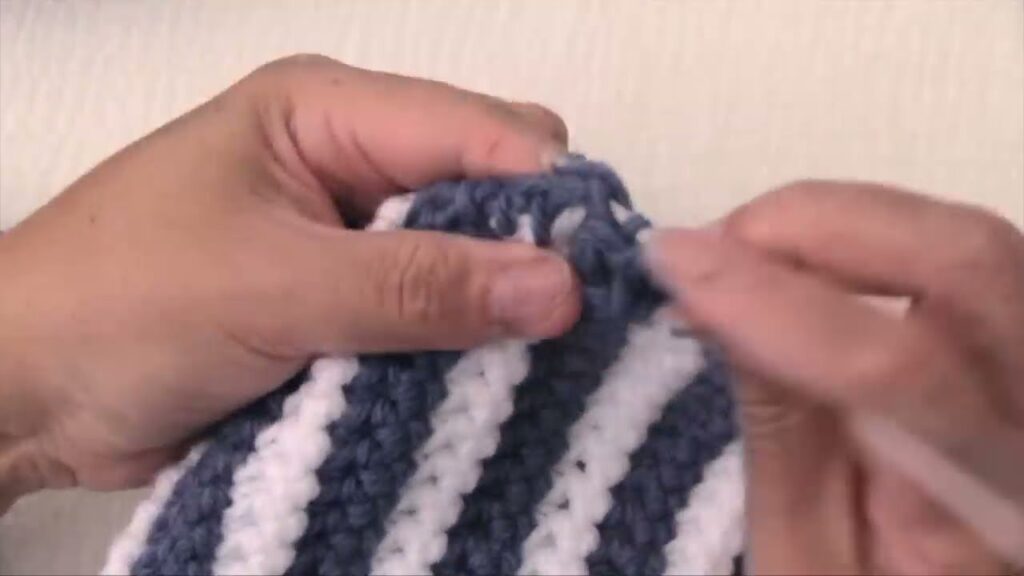
Video tutorial:
🎁 Wrap-Up
Crocheting a striped beanie is a rewarding and fun way to build confidence as a beginner. With simple stitches and color changes, you can create a warm, stylish hat that looks impressive—but is secretly super easy! Once you’ve made one, you’ll want to make more in every color combo possible.