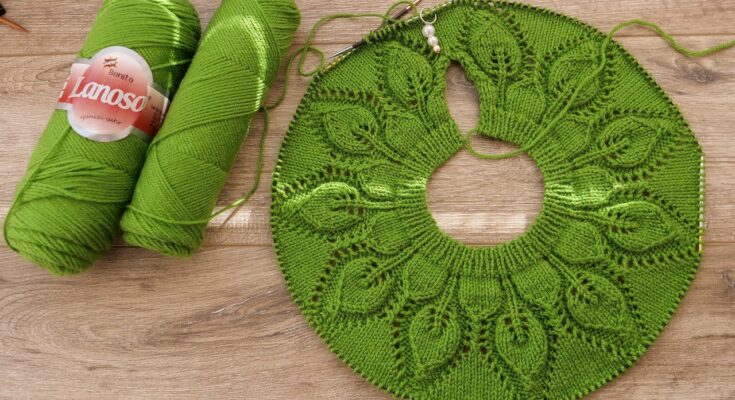
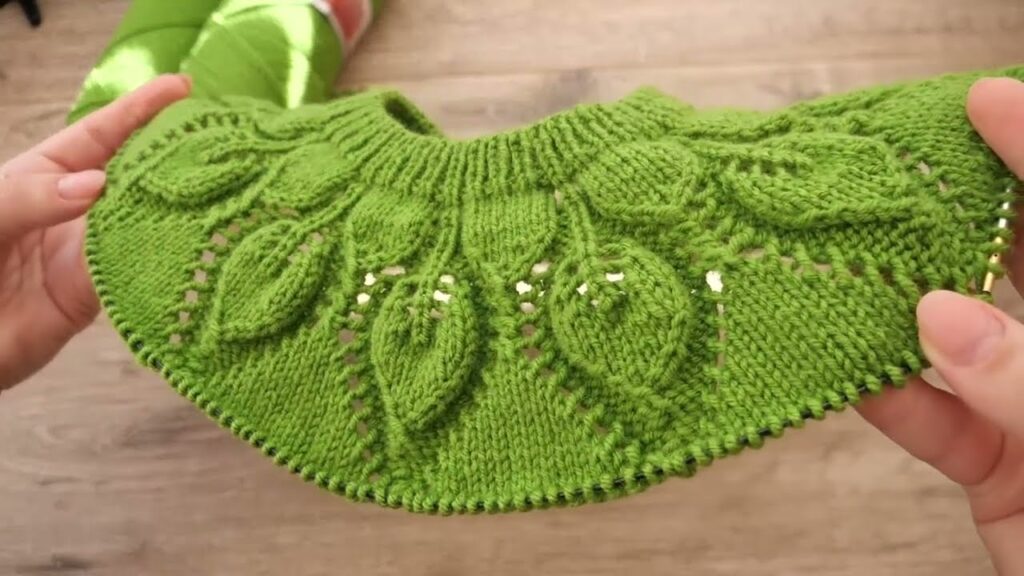
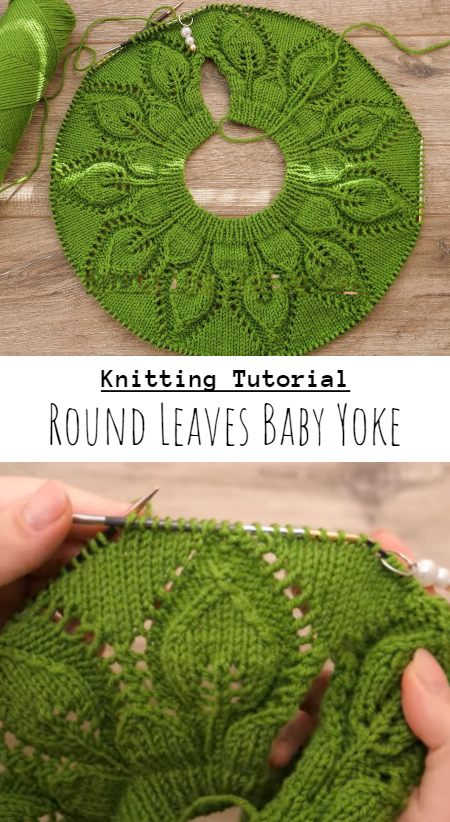
A round baby yoke with leaf motifs is a delicate and stylish choice for baby sweaters, cardigans, and dresses. This top-down circular yoke not only adds an organic, textured aesthetic but also provides a lovely structure for baby garments. Whether you’re knitting for a newborn or a toddler, this pattern offers flexibility and charm.

🧶 Materials Needed
- Baby or fingering weight yarn (e.g., soft cotton, merino wool)
- Circular needles (size US 3–6 / 3.25 mm–4 mm)
- Stitch markers
- Tapestry needle
- Scissors
- Measuring tape
Optional:
- Buttons (if making a cardigan)
- Blocking tools
📐 Sizing Note
Most baby yoke patterns are written for ages 0–24 months. Adjust the number of repeats or yarn weight accordingly for larger sizes.

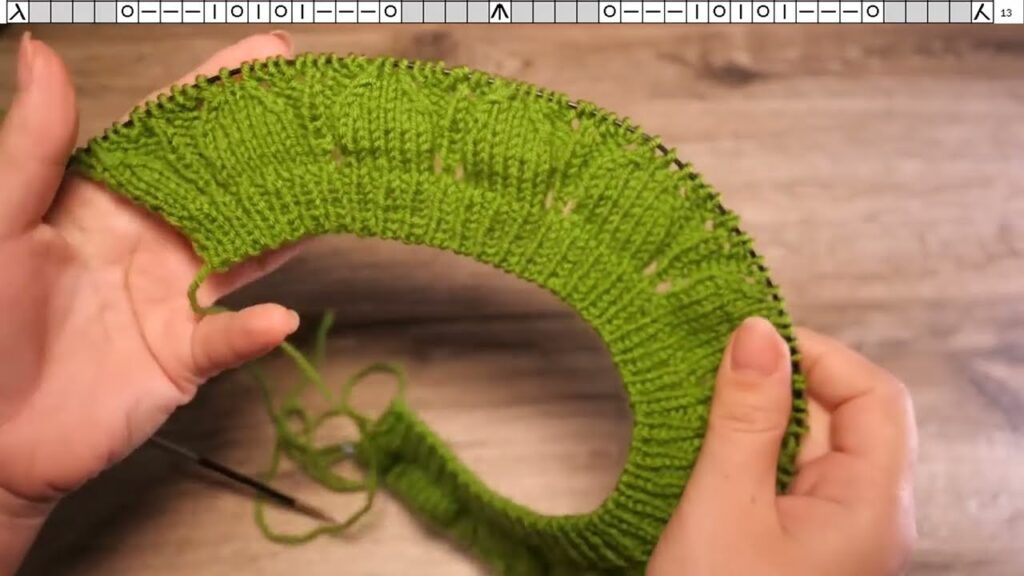
🍃 Understanding the Leaf Yoke Design
The yoke is worked top-down in the round, starting at the neckline. Leaf motifs are incorporated as decorative increases to shape the yoke while forming lovely textured leaves. The leaf motif is typically made with:
- Yarn overs (YO) for holes (veins)
- Knit two together (K2TOG)
- Slip-slip-knit (SSK)
- Central double decreases (CDD)
📘 Abbreviations (US Terms)
- K – Knit
- P – Purl
- YO – Yarn Over
- K2TOG – Knit 2 Together
- SSK – Slip, Slip, Knit
- PM – Place Marker
- SM – Slip Marker
- CDD – Central Double Decrease
🧵 Basic Pattern Structure
1. Cast On and Set Up
- CO 60–80 stitches (depending on size and gauge) using a stretchy cast-on.
- Join to work in the round and PM to indicate the beginning.
- Work 4–6 rounds in ribbing (K1, P1) or garter stitch.
2. Begin Leaf Chart or Written Instructions
- Work the leaf pattern over a multiple of stitches (usually 12 or 16 per repeat).
- Each repeat creates one leaf; use stitch markers between repeats to help track patterning.
- Increases are incorporated into the leaf shape, expanding the yoke.
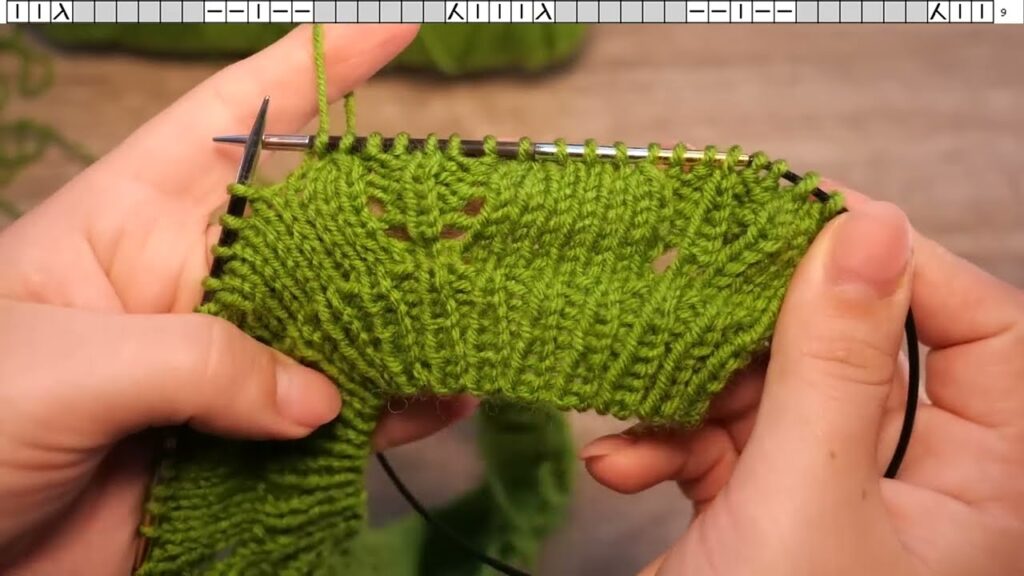
🌿 Example Leaf Motif (Worked Over 9 Rounds):
Round 1: K1, YO, K1, YO, K1 (center of leaf)
Round 2: K all stitches
Round 3: K2, YO, K1, YO, K2
Round 4: K all
Round 5: K3, YO, K1, YO, K3
Round 6: K all
Round 7: K4, YO, K1, YO, K4
Round 8: K all
Round 9: CDD (center), K to end of repeat
Repeat the chart or pattern rows as many times as needed to achieve yoke depth.
👕 Separate for Sleeves
Once your yoke has enough depth (typically 4–5” for a newborn), divide the body and sleeves:
- Place sleeve stitches on holders.
- Continue knitting the body in the round.
- Pick up sleeve stitches and knit in the round (or flat if making a cardigan).
🌈 Finishing Touches
- Knit the body and sleeves to desired lengths.
- Add ribbing or garter edge.
- Bind off loosely.
- Weave in ends.
- Block gently to shape the leaves and smooth the yoke.
✨ Tips for Success
- Use stitch markers generously to track repeats.
- Block the yoke to open up the leaf pattern beautifully.
- Try a light variegated or solid color yarn to highlight the leaf texture.
💡 Pattern Ideas to Try
- Cardigan: Add buttonholes during the yoke portion and work flat.
- Dress: Lengthen the body and add a flared skirt below the yoke.
- Pullover: Keep it simple with a seamless round design.
🧸 Conclusion
Knitting a round baby yoke with leaves adds elegance and charm to any baby garment. While it looks intricate, it’s very achievable with some basic lace techniques. Whether you’re knitting for a gift or your own little one, this design is sure to become a cherished piece.
Happy knitting and leaf it lovely! 🌿🧶