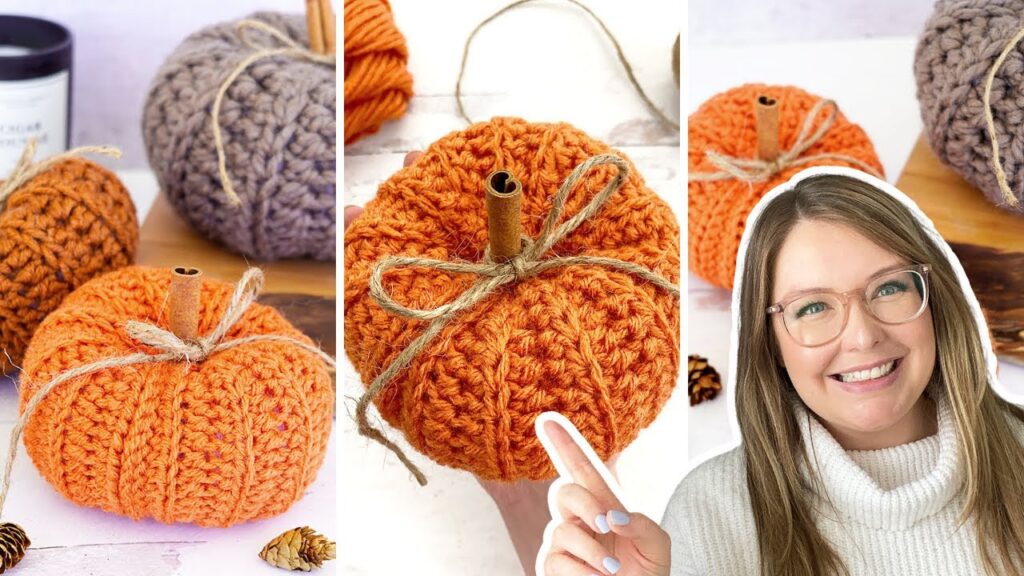
Crocheting a pumpkin is a fun, festive project that’s perfect for beginners and ideal for fall décor. Whether you’re decorating for Halloween, Thanksgiving, or simply love the cozy autumn aesthetic, a handmade crochet pumpkin adds a warm, homemade touch to any space.
This guide walks you through everything you need—from materials to step-by-step instructions—to create your first crochet pumpkin, even if you’re new to the craft.
🧶 What You’ll Need
Before you get started, gather the following materials:
Materials:
- Worsted weight yarn in orange (or any desired pumpkin color)
- Brown or green yarn for the stem
- Fiberfill stuffing
- Tapestry needle
- Scissors
- Stitch marker (optional but helpful)
Tools:
- Crochet hook size 4.0 mm (G-6) or 5.0 mm (H-8), depending on your yarn weight and tension
🪡 Basic Stitches You’ll Use
If you’re brand new to crochet, you’ll need to know a few basic stitches:
- Magic Ring – Starts your project in the round
- Single Crochet (sc) – The main stitch for this project
- Increase (inc) – Two single crochets in one stitch
- Decrease (dec) – Crochet two stitches together to reduce stitches
Need a refresher? Plenty of online tutorials and videos can help you practice these stitches.
🎃 Beginner-Friendly Crochet Pumpkin Pattern
Step 1: Start with the Magic Ring
Create a magic ring (or ch 2 and work into the second ch from hook).
Round 1: 6 sc into the magic ring. (6 sts)
Pull the ring tight and place a stitch marker if desired.
Step 2: Increase to Form the Base
Round 2: inc in each st around. (12 sts)
Round 3: (sc in next st, inc) around. (18 sts)
Round 4: (sc in next 2 sts, inc) around. (24 sts)
Round 5: (sc in next 3 sts, inc) around. (30 sts)
Continue increasing until your pumpkin is the width you’d like (typically 36–48 sts around for small to medium pumpkins).
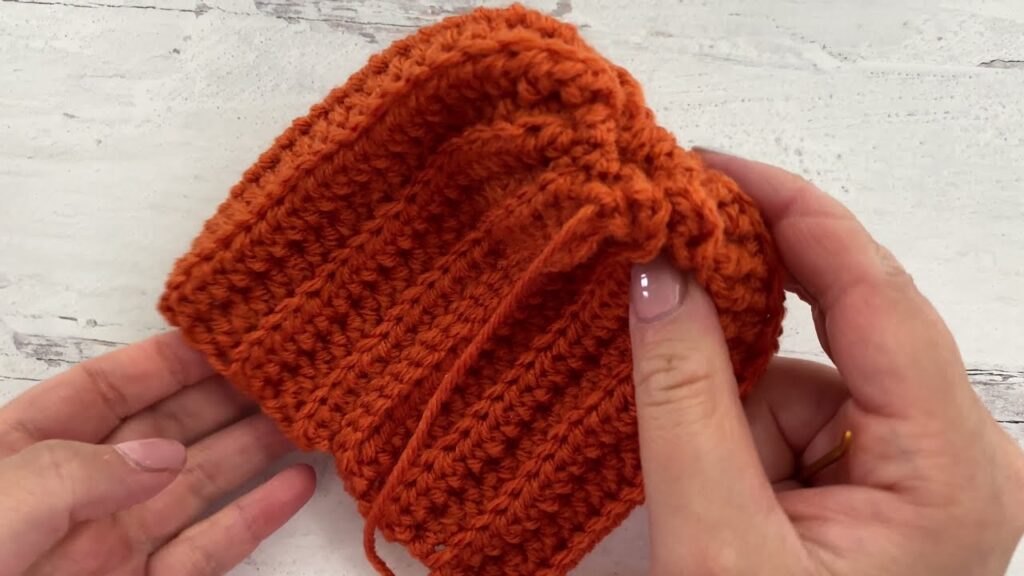
Step 3: Build the Body
Rounds 6–12: sc in each st around.
(Add more rounds for a taller pumpkin, fewer for a squat one.)
Step 4: Decrease to Close
Next Round: (sc in next 3 sts, dec) around.
Next Round: (sc in next 2 sts, dec) around.
Next Round: (sc in next st, dec) around.
Next Round: dec around until the hole is nearly closed.
Stuff your pumpkin firmly with fiberfill before the hole becomes too small.
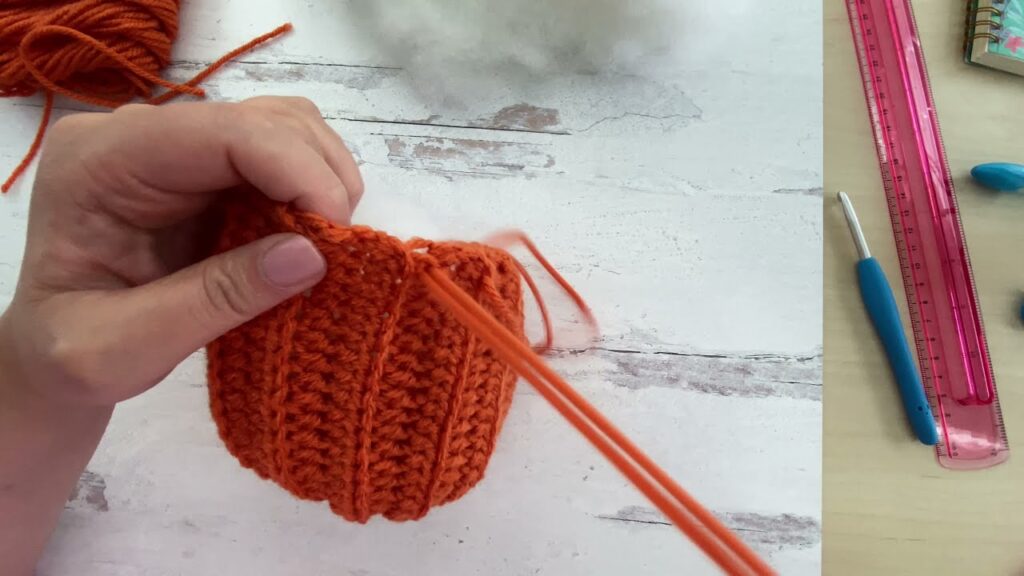
Step 5: Finish and Shape
- Fasten off, leaving a long tail.
- Thread the yarn through the front loops of remaining stitches and pull tight to close.
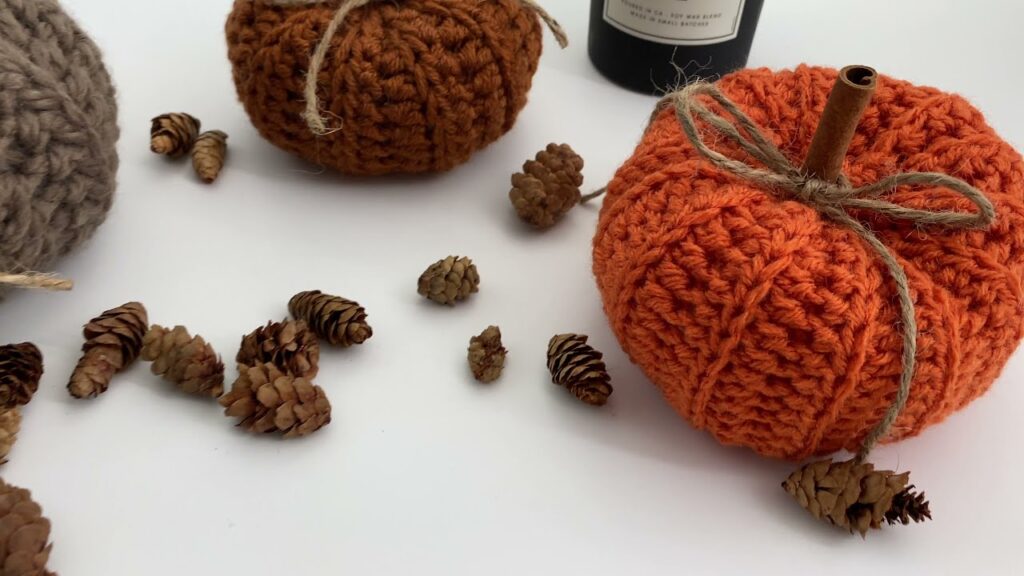
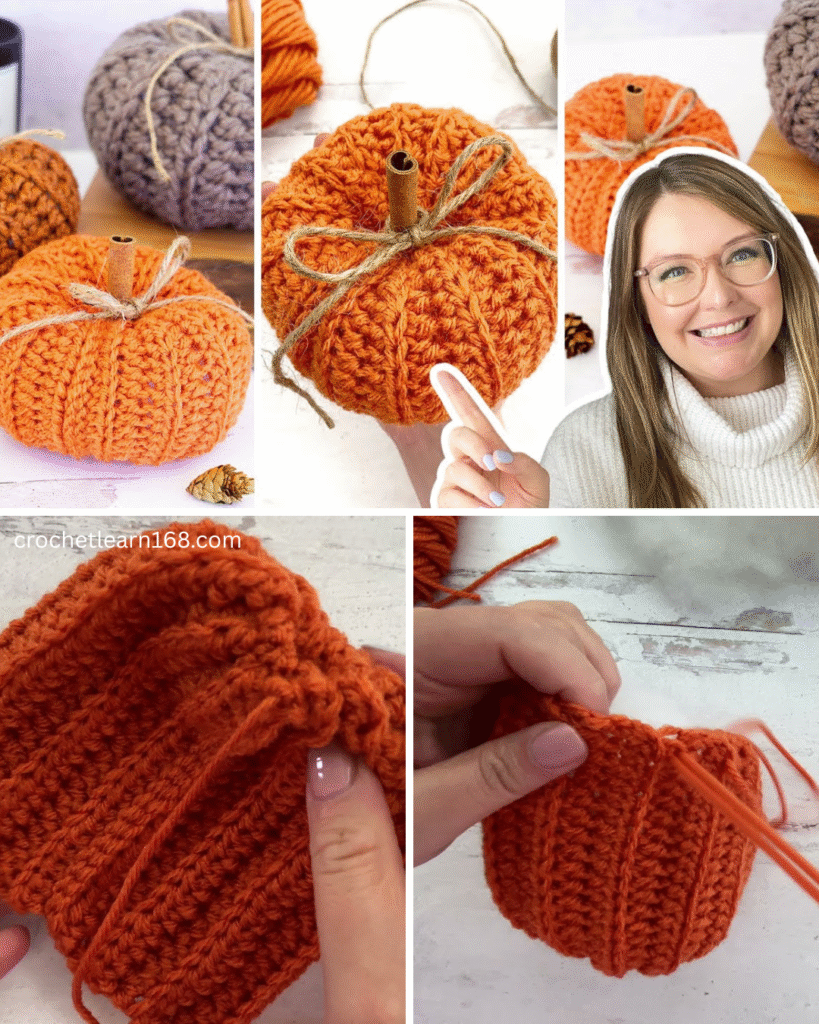
- To form the classic pumpkin ridges, use the yarn tail and tapestry needle to pull yarn from top to bottom through the center, wrapping around the outside. Repeat 5–6 times evenly spaced to shape ridges.
Step 6: Crochet the Stem
With brown or green yarn:
Round 1: 6 sc in magic ring.
Rounds 2–4: sc in each st around.
Fasten off, leaving a tail for sewing.
Sew the stem onto the top of the pumpkin.
🌟 Tips for Success
- Practice stitches beforehand if you’re new to crochet.
- Use a stitch marker to keep track of rounds in the round.
- Vary the yarn colors and sizes for a cute pumpkin patch look.
- Embellish with leaves or curly vines if you’re feeling crafty.
Video tutorial:
🍂 Final Thoughts
Crocheting a pumpkin is a fantastic beginner project that helps you practice key skills like working in the round, increasing, decreasing, and shaping. With just a bit of yarn and creativity, you’ll have a charming fall decoration that’s entirely your own.
So grab your hook, cozy up with some yarn, and enjoy bringing a little autumn magic to life—one stitch at a time.