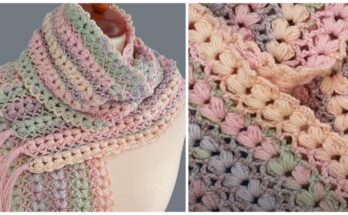
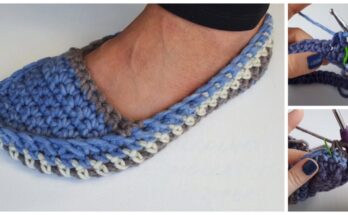
This beanie gets its 3D texture from alternating front and back post stitches, or by using a puff or cluster stitch for added depth. Below is a simple post-stitch version:

🌀 Pattern Instructions
Step 1: Make the Ribbed Band
- CH 9
- Row 1: SC in 2nd CH from hook and across (8 SC). CH 1, turn.
- Row 2–60: SC in BLO (back loop only) across. CH 1, turn.
- Join the ends with SL ST to form a circle.

Step 2: Create the Body of the Hat
- Round 1: CH 2, work HDC or DC evenly around the top edge of the band. Join with SL ST.
- Round 2: FPDC in one stitch, BPDC in the next — repeat around. Join.
- Repeat Round 2 for about 10–12 more rounds, or until desired height.

Step 3: Shape the Crown
- Begin decreasing: FPDC2tog, BPDC2tog around.
- Repeat for a few more rounds, decreasing each time.
- Once only a few stitches remain, fasten off and weave through top stitches to close.

🎨 Customization Tips
- Color Change: Add stripes or use variegated yarn for visual interest.
- Yarn Texture: Use velvet or boucle yarn for added fluff and softness.
- Add a Pom-Pom: Attach a pom-pom to the top for a playful finish.
❄️ Why You’ll Love This Beanie
- Fast: Works up in 1–2 hours depending on your speed.
- Easy: Uses basic stitches with a simple 3D twist.
- Versatile: Great for men, women, and kids – just adjust the size.
- Stylish: The 3D texture looks rich and professional.

📏 Sizing Guide
- Baby: 14–16″ circumference
- Child: 17–19″ circumference
- Adult: 20–22″ circumference
Simply adjust the number of rows in the ribbed band to match the desired head size.
🌟 Conclusion
This crochet fast and easy 3D hat beanie combines simplicity and texture to create a truly eye-catching accessory. Whether you’re making it for chilly weather, as a thoughtful handmade gift, or as a product to sell, this beanie is a winner. With a few yarn skeins and your hook, you’ll have a warm and stylish hat in no time.
Video tutorial:
Keep warm and keep hooking! 🧶🧢


